Deploy the Velociraptor server
Follow the preserved Linux server procedure below to download Velociraptor, generate its configuration, build the package, verify the services, open the Admin GUI, and import external artifact projects.
Deploy Velociraptor Server (Linux)
The Velociraptor server will be set up to use self-signed SSL certificates and Basic authentication, which is a fairly straightforward configuration option.
In self-signed SSL mode, Velociraptor issues its own server certificate using its internal CA. This means the Admin GUI and front end also use a self-signed server certificate.
Download the Velociraptor binaries
Download the latest Velociraptor binary that is compatible for your host architecture from https://github.com/Velocidex/velociraptor/releases.
Before starting the setup, it’s a good idea to create a fresh working directory to use for the pre-installation tasks.
Copy the download link for the latest release that matches your server’s platform and architecture, then use it in the wget command below. This will download the binary and save it as velociraptor.
wget -O velociraptor https://github.com/Velocidex/velociraptor/releases/download/v0.75/velociraptor-v0.75.6-linux-amd64
Next, make the downloaded file executable:
Create the server configuration file
To create a new configuration file, we use the config generate command. The -i flag runs the process in interactive mode, launching a question-and-answer style wizard that collects the key details needed to build your configuration.
In the configuration wizard, select the options outlined below. For any other prompts, just accept the default settings.
Deployment Type: Self-signed SSL
Public DNS name of the Master Frontend: Enter the server’s IP address (or a DNS name, if you’ve set one up) that clients will use to connect to the server.
On the fourth screen of the configuration wizard, you’ll be asked to create an admin user. Enter a username and password for the initial admin account, which will be used to access the web interface. You only need one admin at this stage, as additional users can be added later. After creating the first admin user, leave the next username and password blank to continue.
In the last step of the configuration wizard, you’ll be asked to save the config file to your working directory. You can stick with the default filename and the wizard will then close. Name of file to write: server.config.yaml
By default, the configuration binds the GUI and Frontend services to the loopback address (127.0.0.1), meaning they’re only accessible from the local machine. To allow access from other hosts on the network, you’ll need to update the configuration file.
Open the config file in a text editor and change:
to:
If you need to access the GUI from a different network host then also change:
to:
When using self-signed SSL, which only supports Basic authentication, you should avoid exposing the GUI to untrusted networks such as the public internet. If the server must be reachable from the internet, keep GUI.bind_address set to the loopback interface and access the GUI via SSH local port forwarding, which can be protected with stronger authentication.
Create the server installation package
To create the server installation package, run the appropriate command below in your working directory.
Debian-based server:
#Example Output
velouser@Velociraptor:~/velociraptor_setup$ ./velociraptor debian server --config ./server.config.yaml
[
 {
  "OSPath": "/home/velouser/velociraptor_setup/velociraptor-server-0.75.6.amd64.deb"
 }
RPM-based server:
The output file is automatically named to include the version and architecture, but you can use any filename you like by specifying it with the --output <your_file_name> option.
Install the server component
Install the server package using the command below according to your server’s packaging system.
Debian-based server installation:
#Example Output
velouser@Velociraptor:~/velociraptor_setup$ sudo dpkg -i velociraptor-server-0.75.6.amd64.deb
Selecting previously unselected package velociraptor-server.
(Reading database ... 150772 files and directories currently installed.)
Preparing to unpack velociraptor-server-0.75.6.amd64.deb ...
Unpacking velociraptor-server (0.75.6) ...
Setting up velociraptor-server (0.75.6) ...
info: Selecting GID from range 100 to 999 ...
info: Adding group `velociraptor' (GID 124) ...
info: Selecting UID from range 100 to 999 ...

info: Adding system user `velociraptor' (UID 122) ...
info: Adding new user `velociraptor' (UID 122) with group `velociraptor' ...
info: Not creating home directory `/etc/velociraptor'.
Created symlink /etc/systemd/system/multi-user.target.wants/velociraptor_server.service → /etc/systemd/system/velociraptor_server.service.
RPM-based server installation:
Now that the service is installed, there are a few ways you can check its status.
Check the service status:
#Example Output
● velociraptor_server.service - Velociraptor server
     Loaded: loaded (/etc/systemd/system/velociraptor_server.service; enabled; preset: enabled)
     Active: active (running) since Fri 2026-01-16 22:42:21 NZDT; 58s ago
   Main PID: 4399 (velociraptor)
      Tasks: 15 (limit: 4545)
     Memory: 86.6M (peak: 88.0M)
        CPU: 3.036s
     CGroup: /system.slice/velociraptor_server.service
             ├─4399 /usr/local/bin/velociraptor --config /etc/velociraptor/server.config.yaml frontend
             └─4407 /usr/local/bin/velociraptor --config /etc/velociraptor/server.config.yaml frontend

Jan 16 22:42:21 Velociraptor systemd[1]: Started velociraptor_server.service - Velociraptor server.
Check that the GUI is listening:
#Example Output
velouser@Velociraptor:~/velociraptor_setup$ nc -vz 127.0.0.1 8889
Connection to 127.0.0.1 8889 port [tcp/*] succeeded!
Check that the Frontend is listening:
#Example Output
velouser@Velociraptor:~/velociraptor_setup$ nc -vz 127.0.0.1 8000
Connection to 127.0.0.1 8000 port [tcp/*] succeeded!
Log in to the Admin GUI
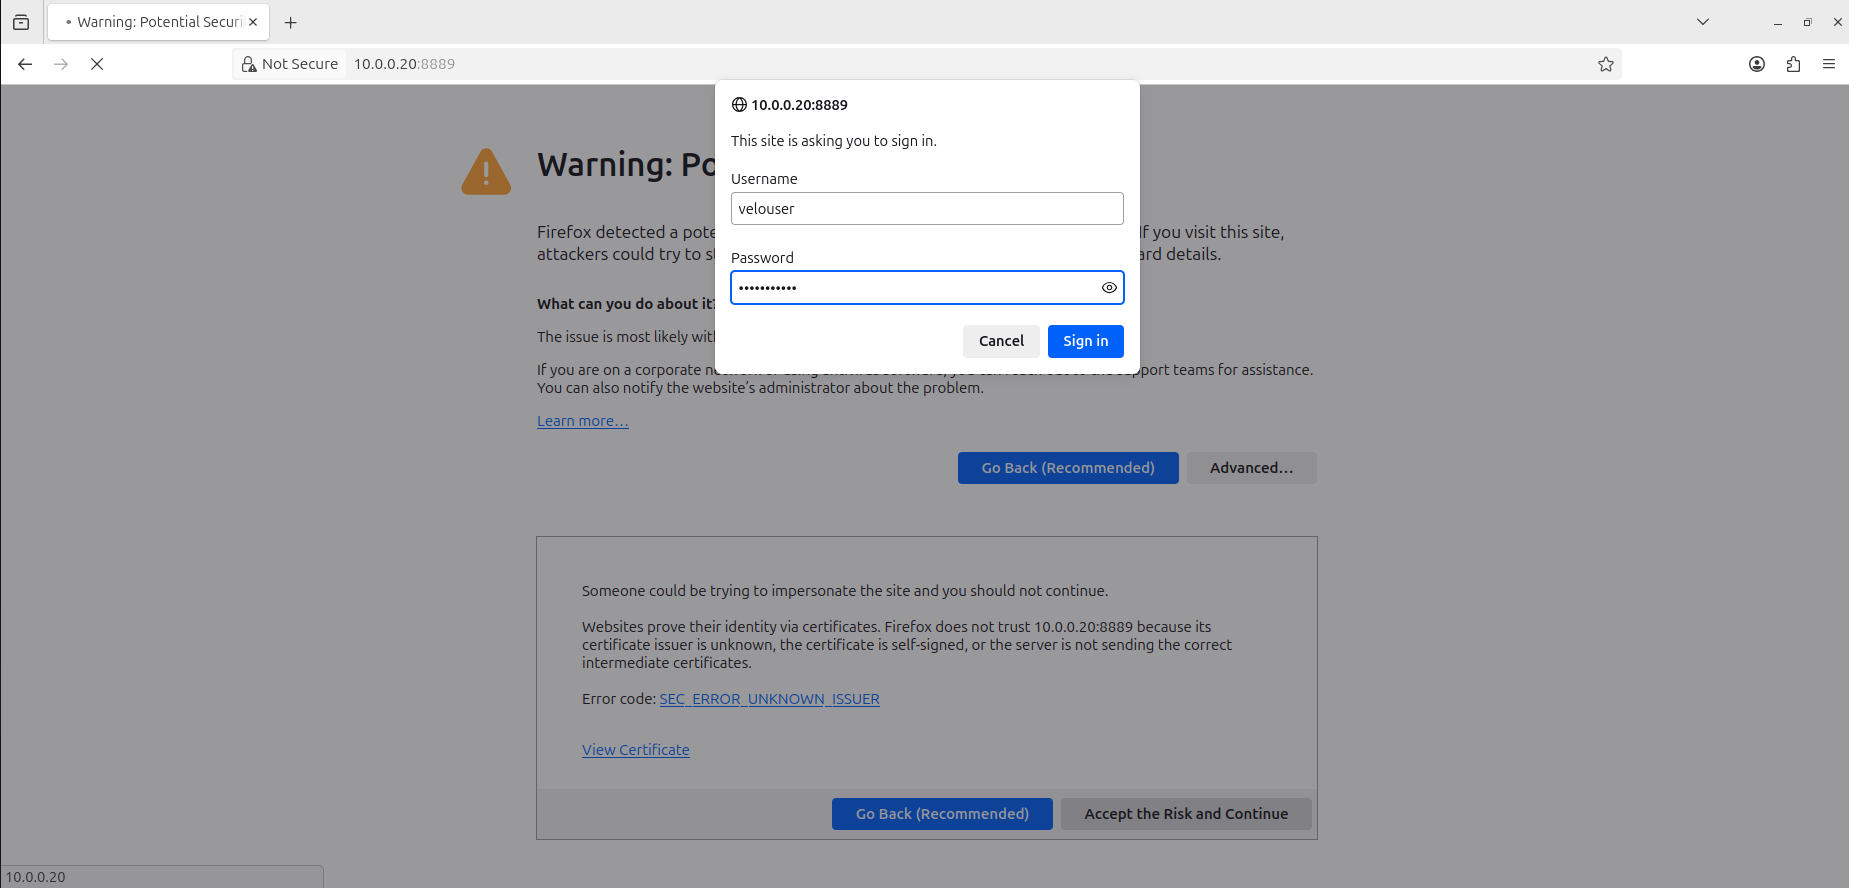
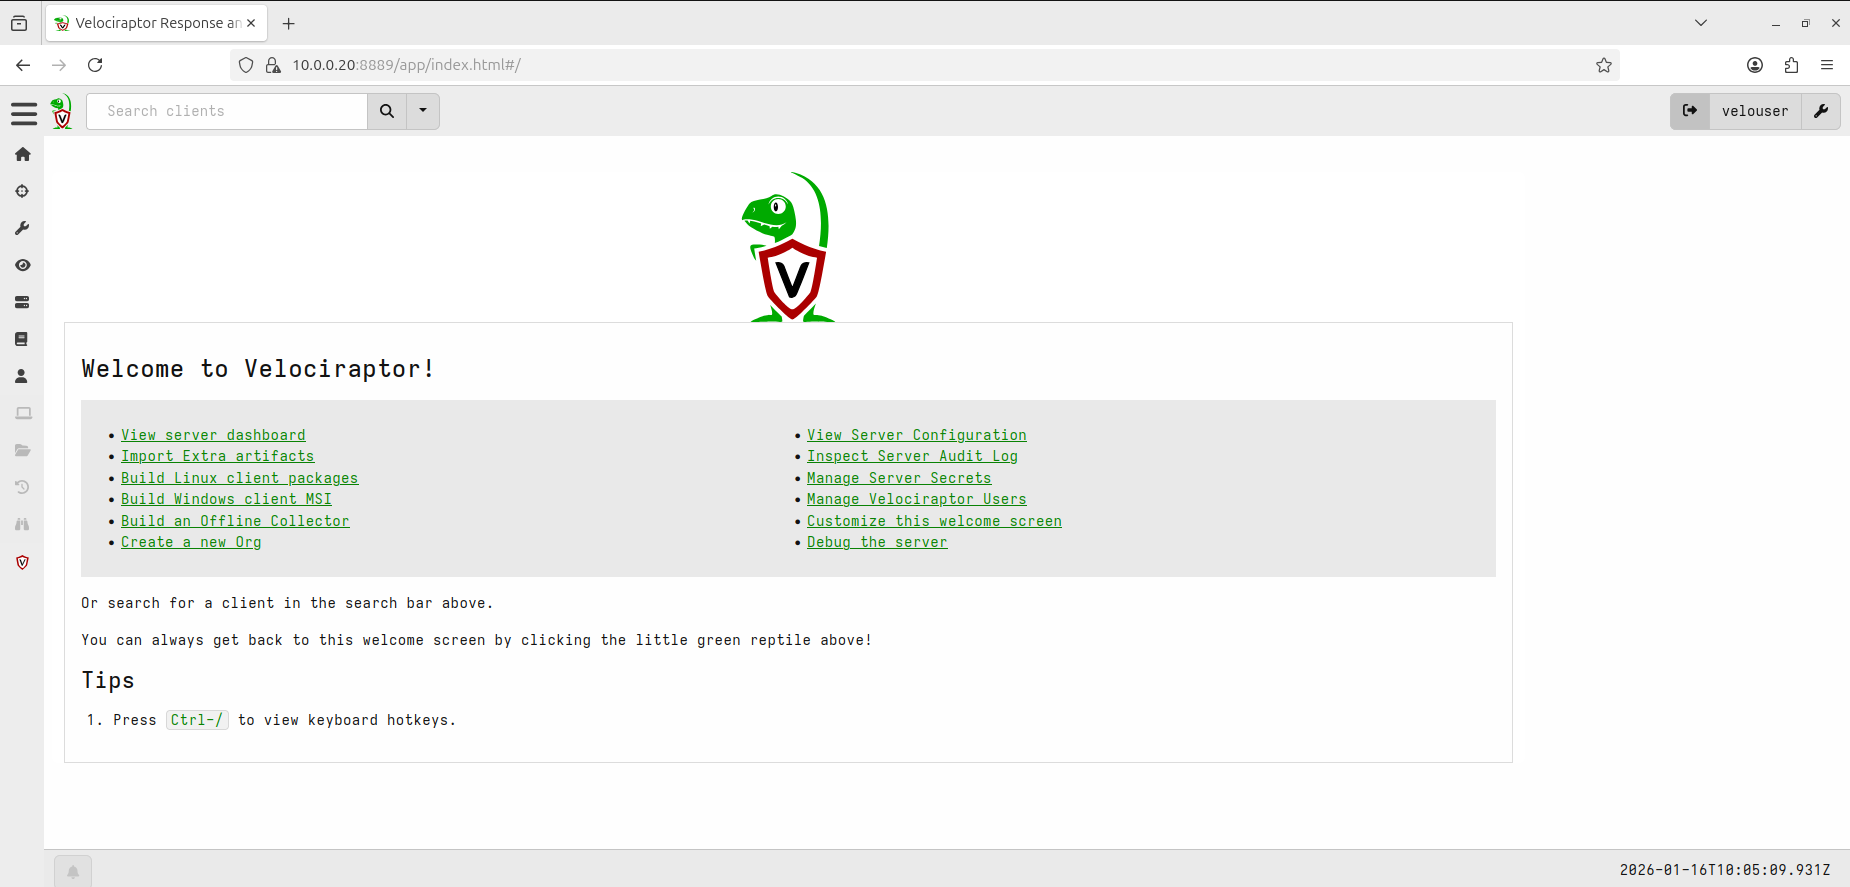
The Admin GUI should now be reachable in a web browser at https://127.0.0.1:8889, or via the server’s IP address if you updated the GUI.bind_address setting earlier. Log in using the admin account you created during the configuration wizard, and you’ll be taken to the Welcome screen.
Import artifacts from external projects
This step only applies if you are using version 0.75 or above. For older versions you can skip to the next step . Over time, Velociraptor has grown a number of separate sub-projects to handle larger and more complex artifacts. As these artifacts became more advanced, they were split out from the main project so they could be developed and maintained independently, allowing faster updates and innovation.
While Velociraptor includes hundreds of built-in artifacts, it’s recommended that you also use these external projects. Built-in artifacts usually focus on very specific tasks, whereas the larger projects are designed for broader investigations, such as wide-scale registry or indicator hunting.
| Project | Description |
|---|---|
| Velociraptor Sigma Project | Artifacts that implement Sigma-based triage and monitoring rules. Includes curated Sigma Rules (Hayabusa/Hayabusa Live/ChopChopGo) |
| Velociraptor Triage Project | This project intends to develop a set of rules that are used for specifying the collection of files from the endpoint. |
| Rapid7Labs | Artifacts developed and shared by Rapid7 Labs . |
| Velociraptor Registry Hunter Project | Velociraptor project to develop sophisticated registry analysis modules. |
| Velociraptor SQLite Hunter Project | This project aims to be a one-stop shop for SQLite, ESE and many other database-oriented forensic artifacts. |
| The Velociraptor Artifact Exchange | Velociraptor repository of community-contributed artifacts. |
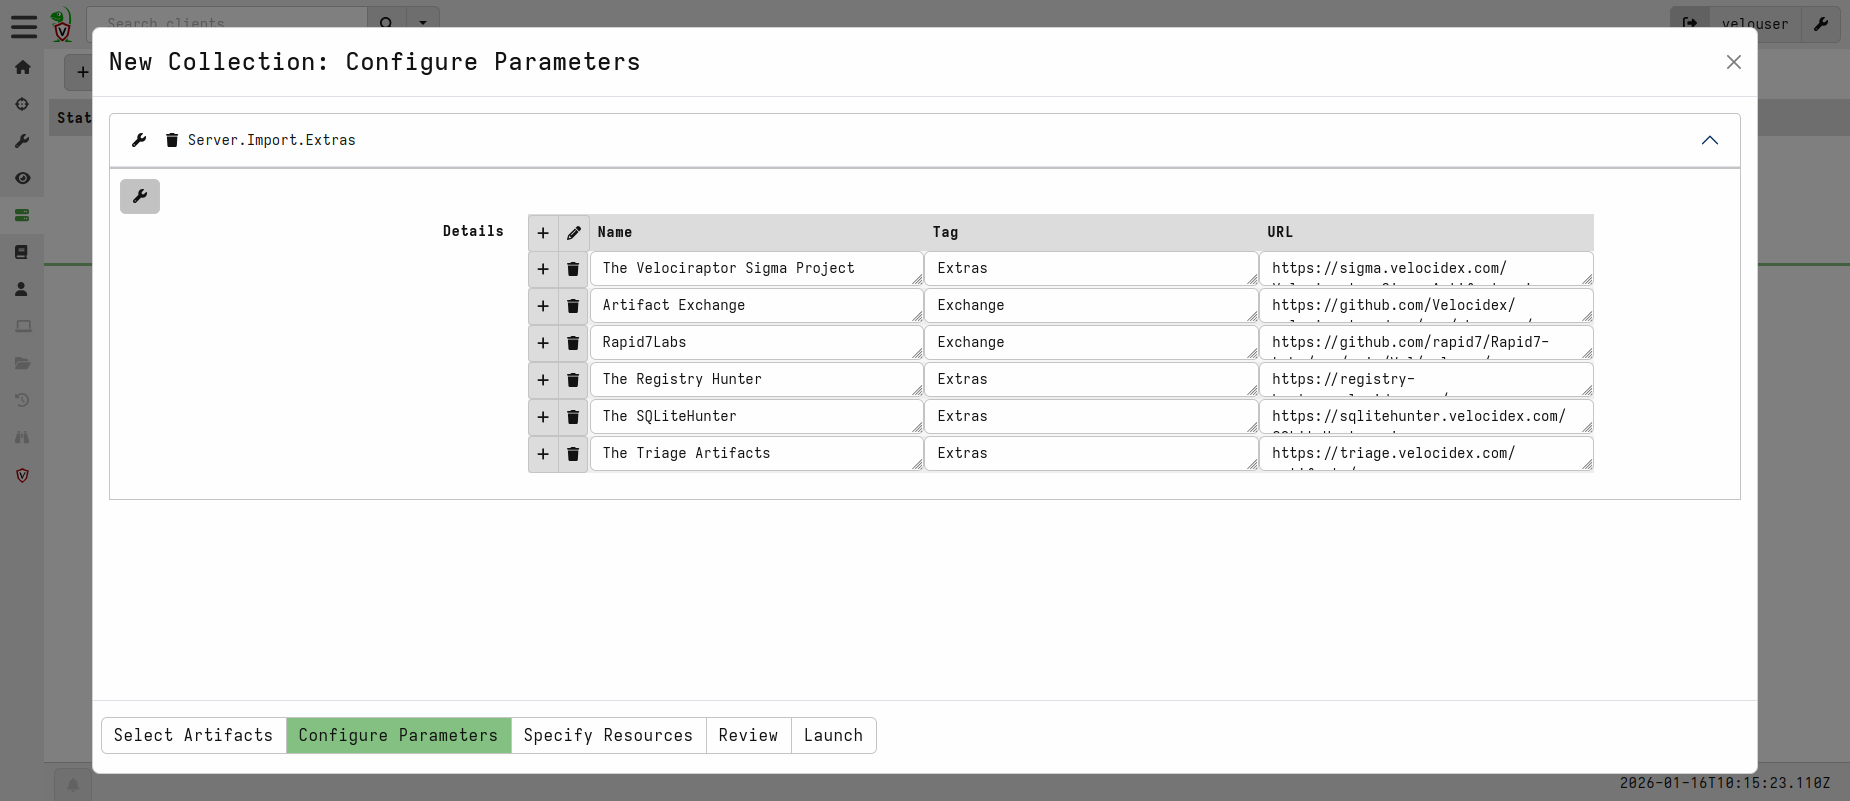
From the Welcome screen, click Import Extra Artifacts. This will launch the artifact collection wizard for the server artifact Server.Import.Extras. Click Configure Parameters to move to that section of the wizard.
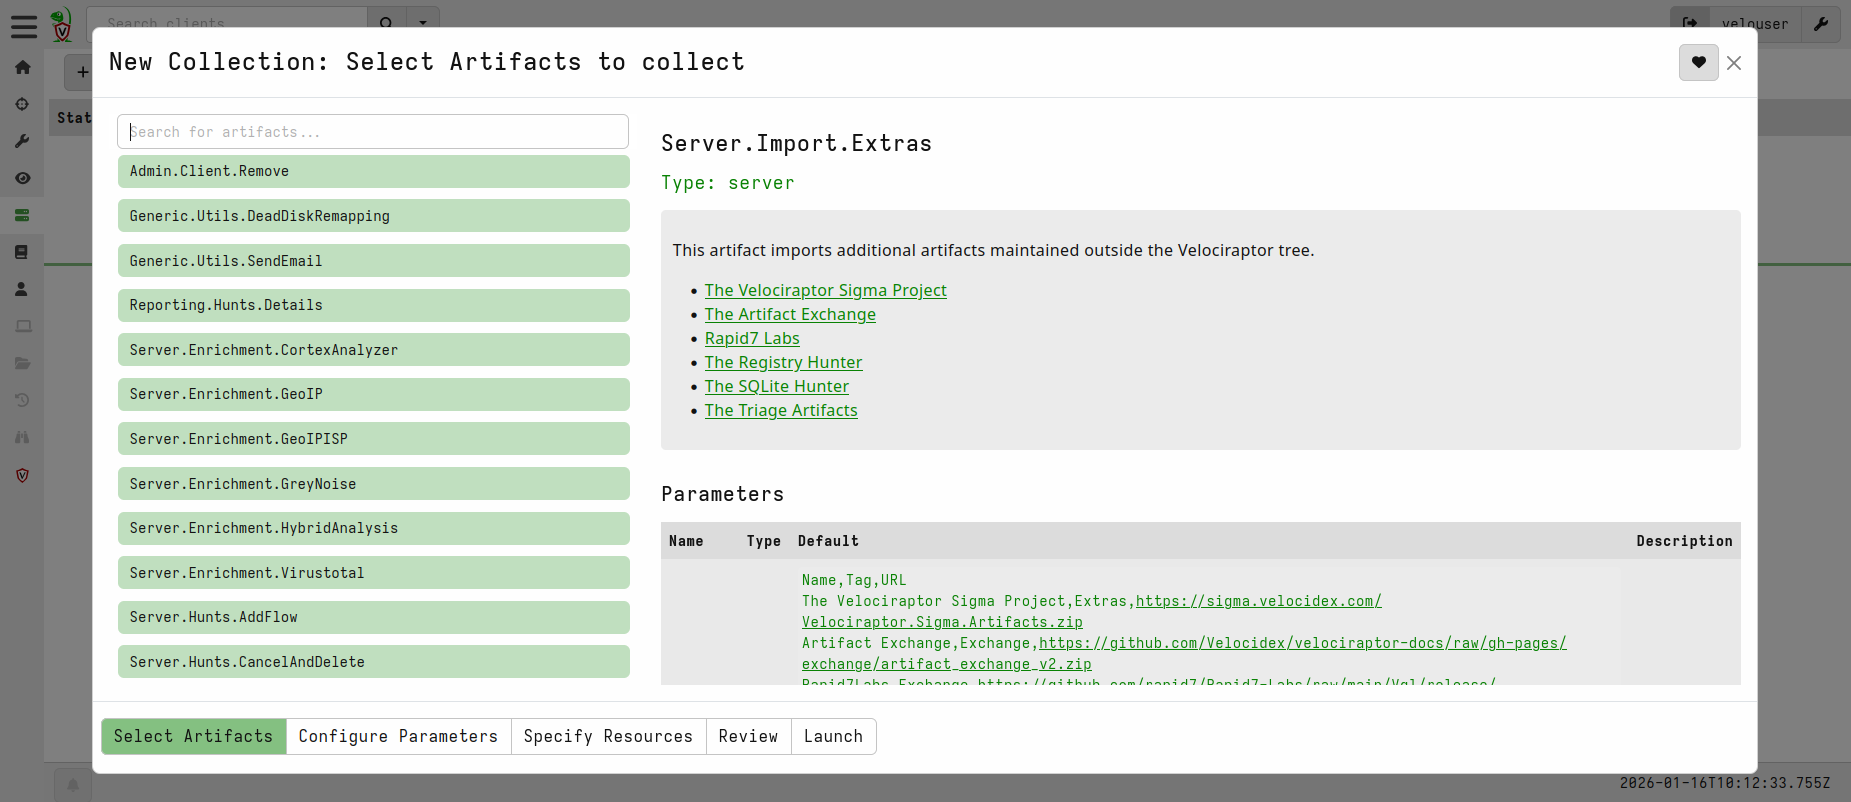
By default, Server.Import.Extras will import artifacts from all sub-projects. You don’t have to import everything straight away though, as you can run this process again later to add or update specific artifacts. To remove an item, click the bin icon next to it. Once you’re happy with your selection, click Launch to start the import.
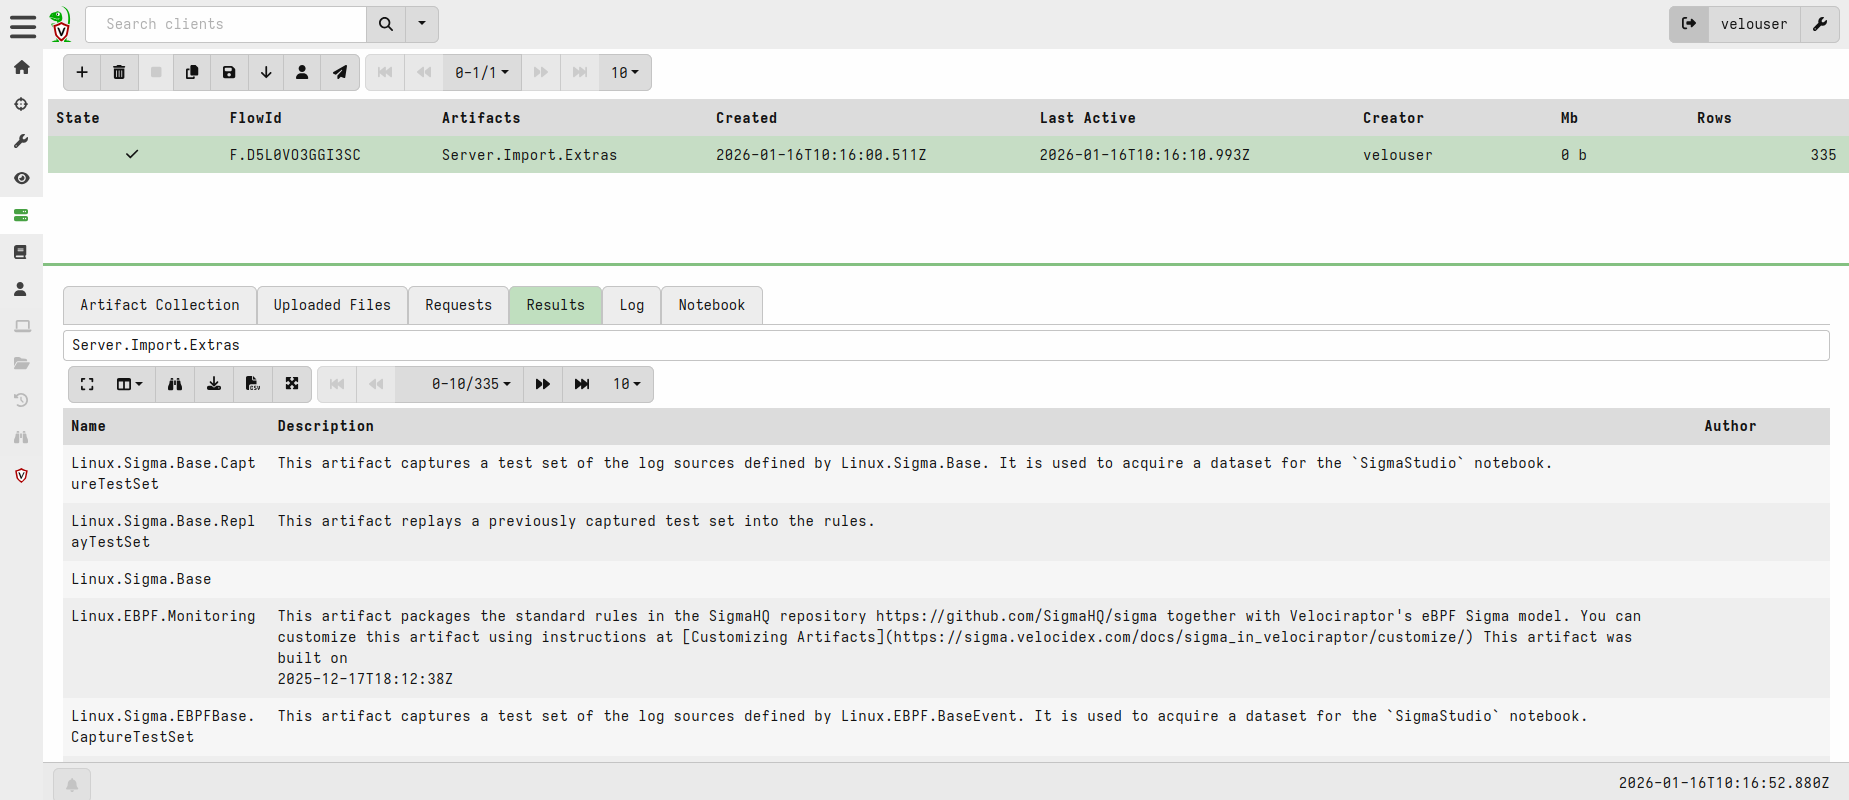
Once the collection finishes, you can view the outcome in the Results tab. If the import fails for any reason, check the Log tab for more details.