Install and verify Aurora Lite
Prepare an authorised Windows endpoint, install Aurora Lite with its local dashboard, and verify that the service and rules are ready before testing detections.
Before you begin
You need an administrator account, a restorable Windows VM, the Aurora package and licence, and access to the vendor's update servers while preparing the agent. Aurora runs on Windows; consult the current Aurora Agent manual before substituting a different release or operating system.
Use a narrow security exclusion
The original PoC records that Windows Defender was temporarily disabled during download. Prefer a vendor-approved, file-specific exclusion for the verified Aurora executable. Do not disable endpoint protection broadly or leave an exclusion in place after the lab without approval.
Download the package
The complete guide preserves the original registration, confirmation, licence, and download sequence:
-
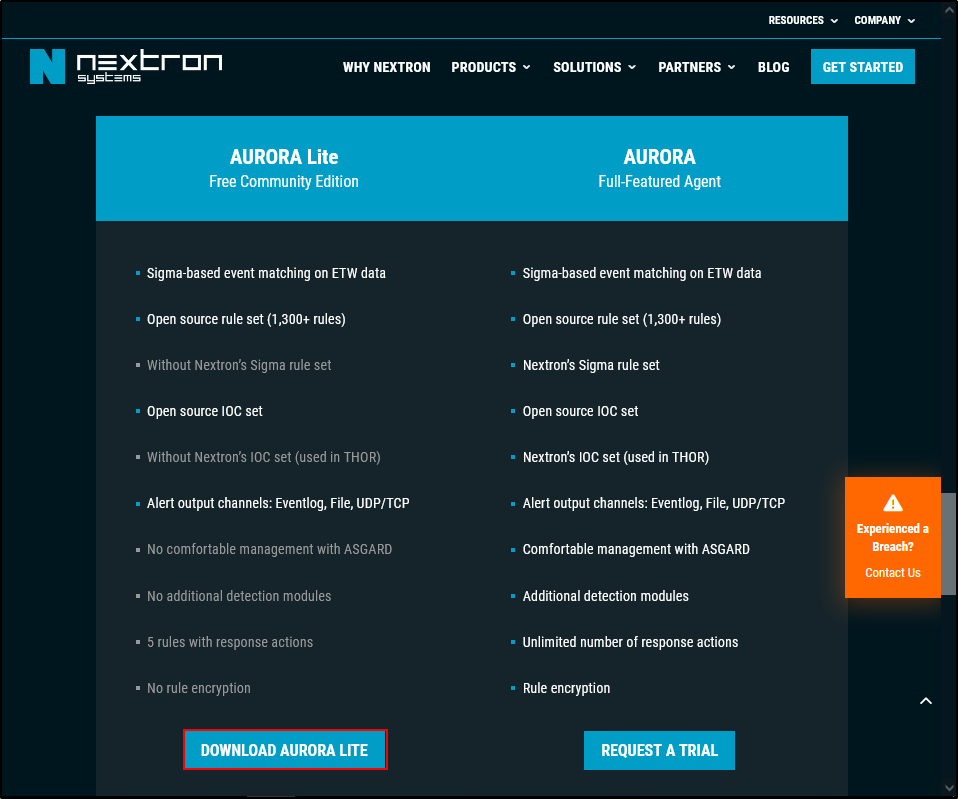
Open the Aurora product page and select Aurora Lite.
-
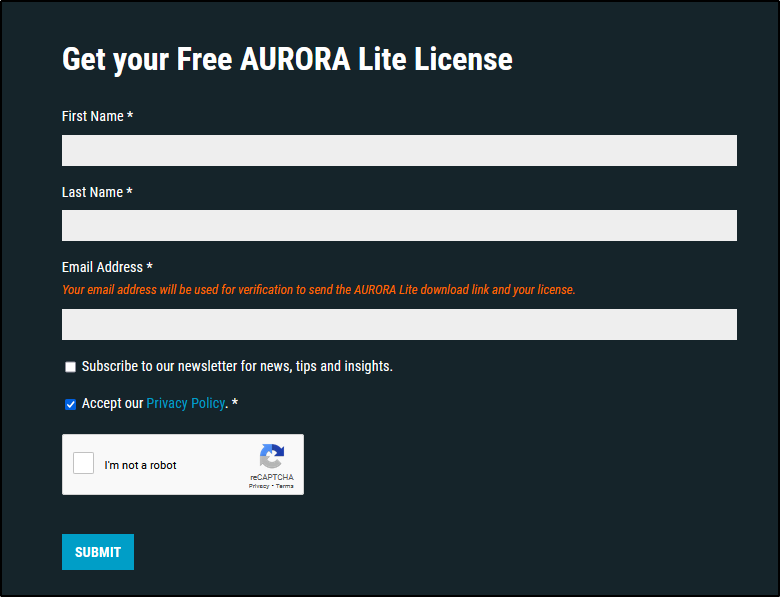
Submit the registration form.
-
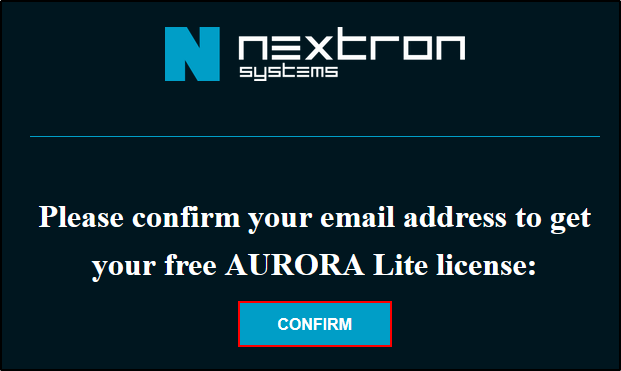
Confirm the email address.
-
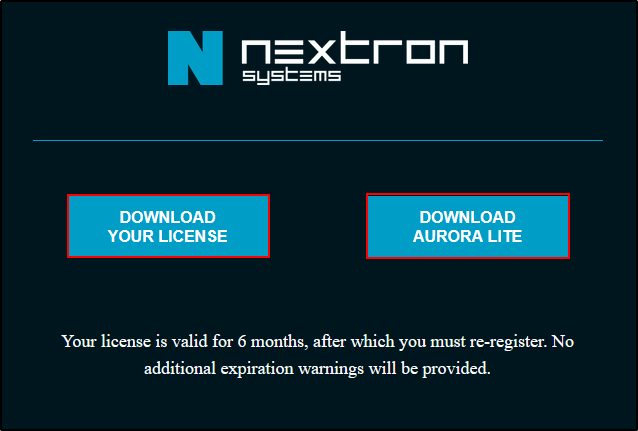
Download the licence and agent package.
Install with the dashboard
- Extract the package to a temporary folder such as
C:\aurora. - Place the
.licfile in that folder. - Open Command Prompt as Administrator.
- Change to the extracted folder.
- Install Aurora with its local dashboard:
- Confirm the agent files are installed under
C:\Program Files\Aurora-Agent\and open the local dashboard.
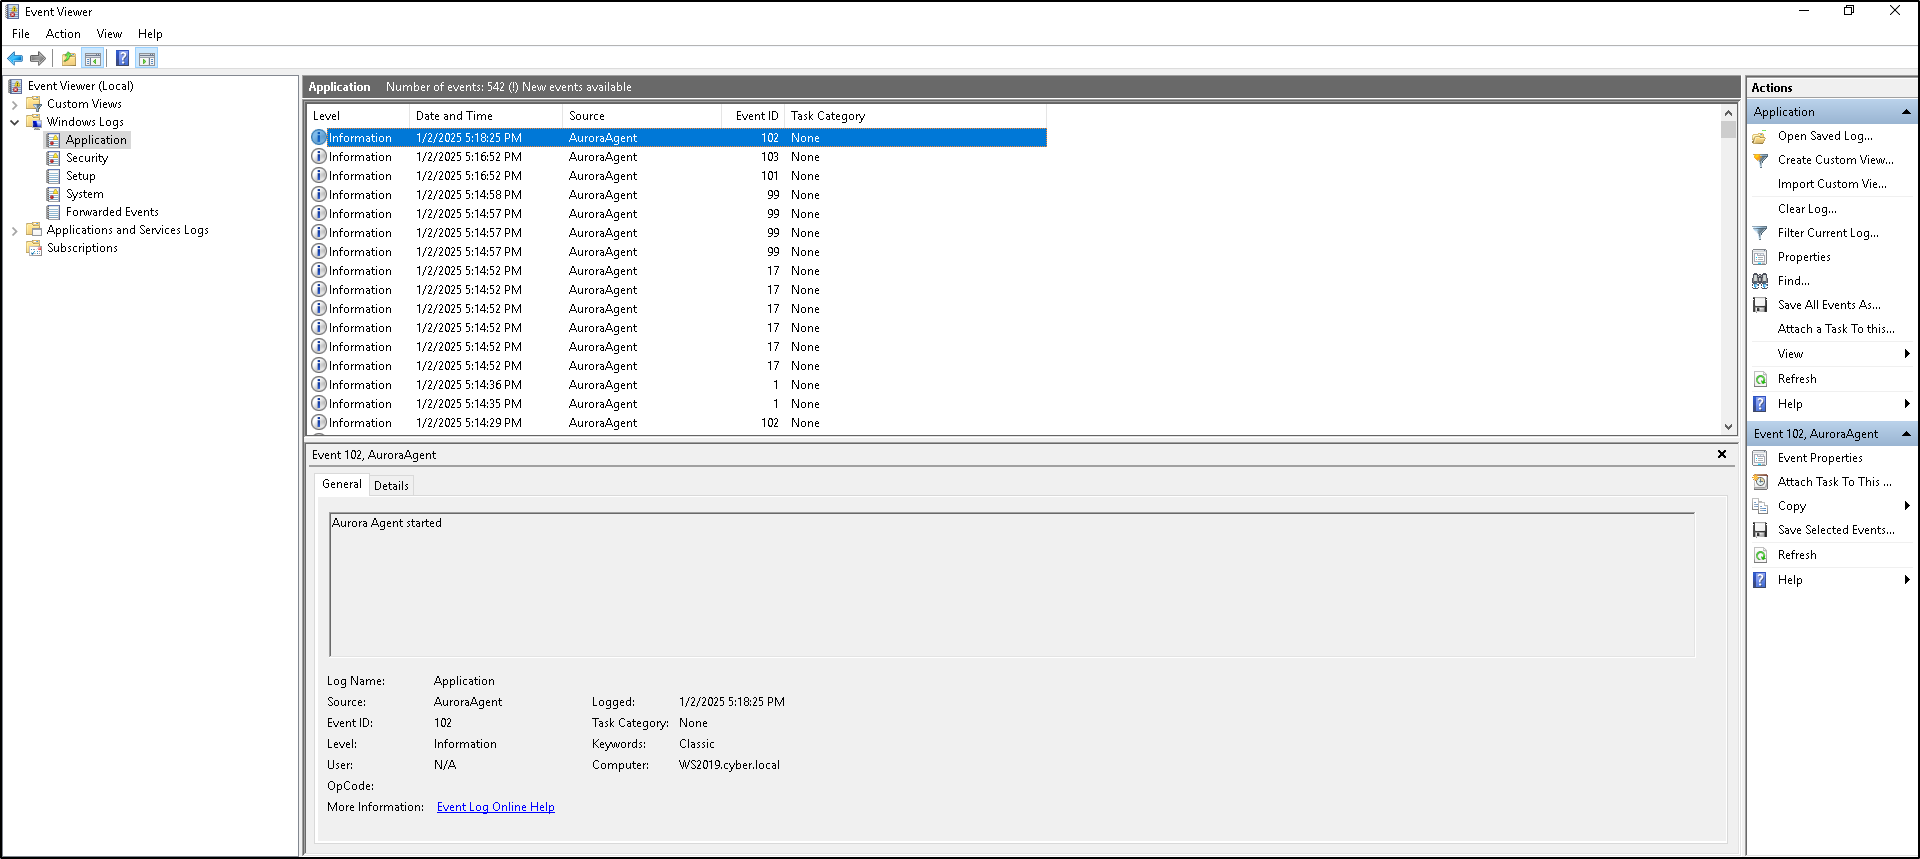
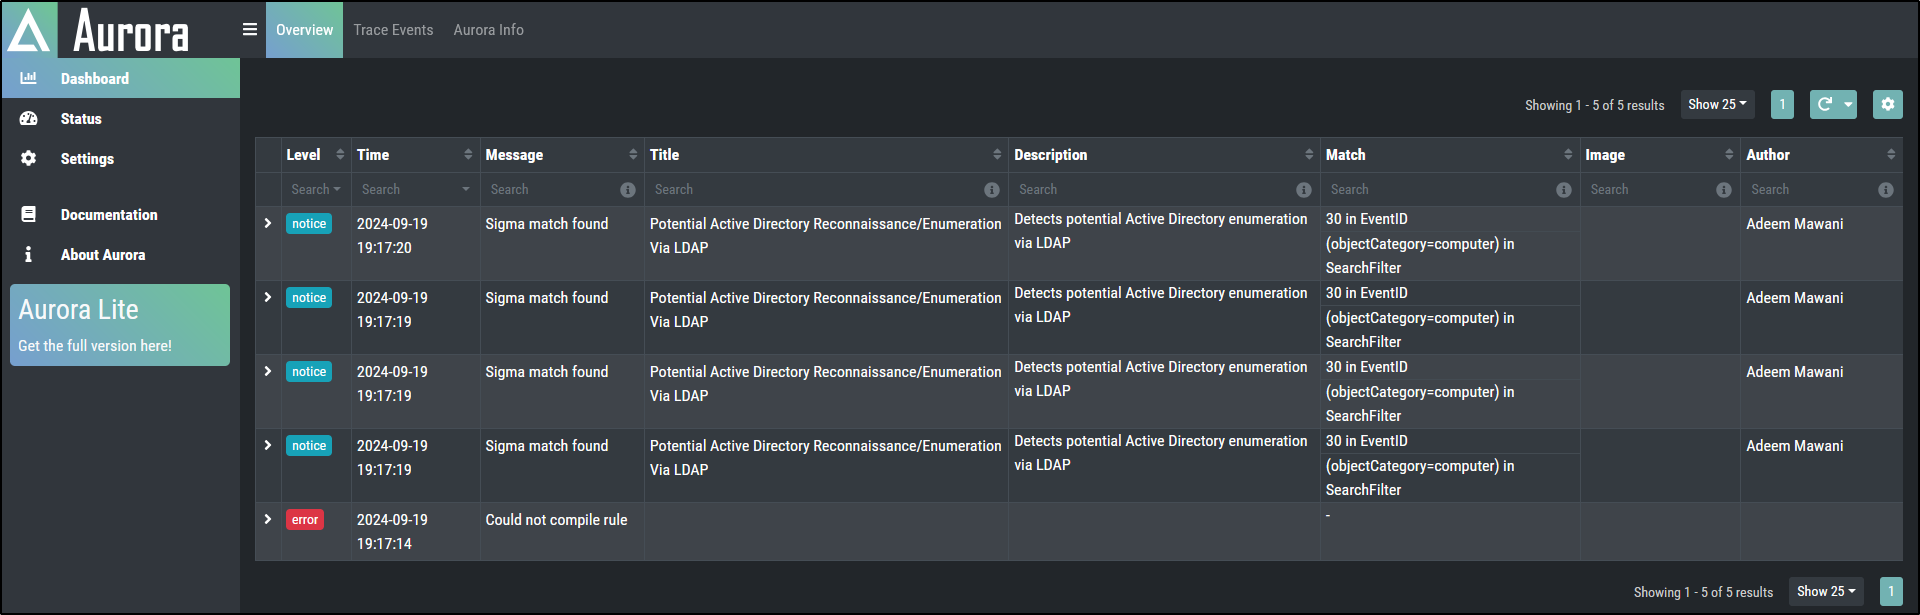
Verify the baseline
Before generating a test event, record the service status, selected configuration preset, successful rule loading, dashboard access, and baseline timestamp.
Checkpoint
Continue only when the service is running, signatures load without an unresolved error, and the dashboard opens locally at http://localhost:17494/ui/dashboard/overview.
Detailed installation walkthrough
The following preserved walkthrough contains the original proof-of-concept topology, registration sequence, requirements, update guidance, exclusions, interactive and service commands, preset table, installation steps, and screenshots.
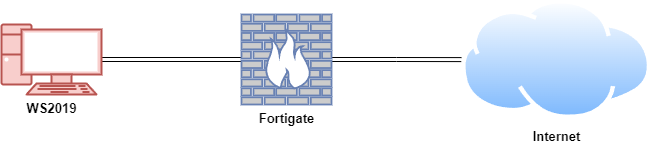
Lab Setup for Proof of Concept
In this proof of concept, an attack simulation was conducted on a Windows Virtual Machine (VM) using live WannaCry ransomware within a secure and controlled environment. Aurora Lite was installed on the Windows VM to detect and respond to the attack.
Note: Only use malware samples on systems you own and can restore, such as VMs with snapshots. Never execute malware on unauthorised systems. Always follow strict malware handling protocols and ensure simulations are conducted in secure, isolated environments. Do not attempt such activities without proper training and authorisation to avoid legal consequences and potential system damage.
| Host | OS | Role | IP Address |
|---|---|---|---|
| Fortigate | Fortios 7.6.0 | Firewall/Router | 192.168.1.111 (WAN) / 10.0.0.1 (LAN) |
| WS2019 | Windows Server 2019 | Aurora Lite | 10.0.0.140 |
Download Aurora Lite
Navigate to https://www.nextron-systems.com/aurora/ and download Aurora Lite.
Submit your name and email address. It does not have to be your personal email address.
Check your inbox and confirm you email address.
Download your license and Aurora Lite. The original PoC temporarily disabled Windows Defender during this step.
Prefer a narrow, approved exclusion
Verify the package source and use a file-specific exclusion for the Aurora executable where possible. Do not broadly disable endpoint protection or leave a temporary exclusion active after the lab.
System Requirements
Aurora is compatible with Windows 7 and later versions, but it requires administrator-level permissions to operate.
It does not support alternative operating systems like Linux or macOS.
Supported Platforms
- Windows 7 (32-bit and 64-bit)
- Windows Server 2008 R2 (64-bit)
- Windows 8.1
- Windows Server 2012
- Windows Server 2012 R2
- Windows 10
- Windows 11
- Windows Server 2016
- Windows Server 2019
- Windows Server 2022
Update Servers
An active internet connection is required to download the latest updates for Aurora and its signatures. The endpoint performing the update must have access to our update servers.
For the most current and comprehensive list of our update and licensing servers, please visit: https://www.nextron-systems.com/resources/hosts/.
Setting an Antivirus / EDR Exclusion
It is advisable to configure your Antivirus or EDR solution to exclude Aurora. The exclusion paths will depend on your system architecture and whether Aurora was installed or executed interactively from a temporary directory.
For an installed version of Aurora:
For an interactively started Aurora, exclude the directory where it was extracted. For instance:
Running Aurora
You can run Aurora from your terminal using default values for each flag without requiring a dedicated configuration file:
Alternatively, in the directory where Aurora Lite is extracted (e.g. C:\aurora), double-click aurora-agent-64
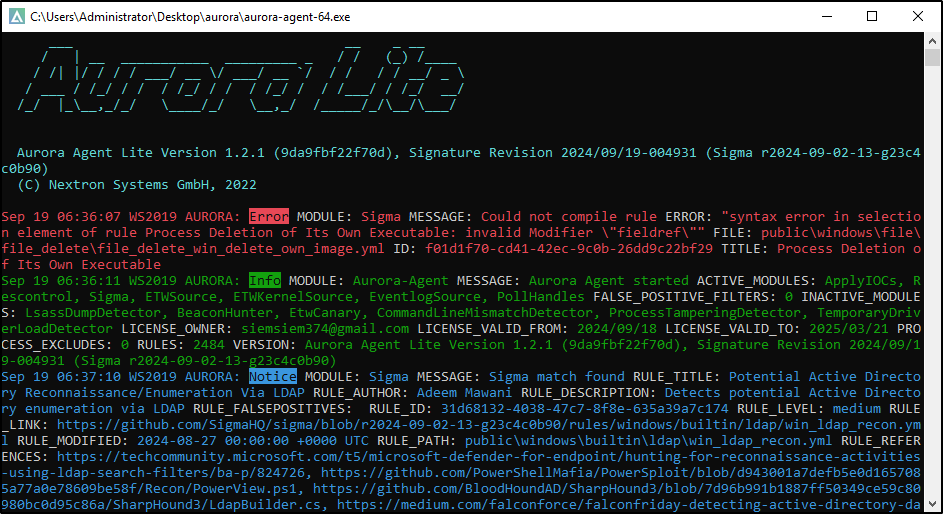
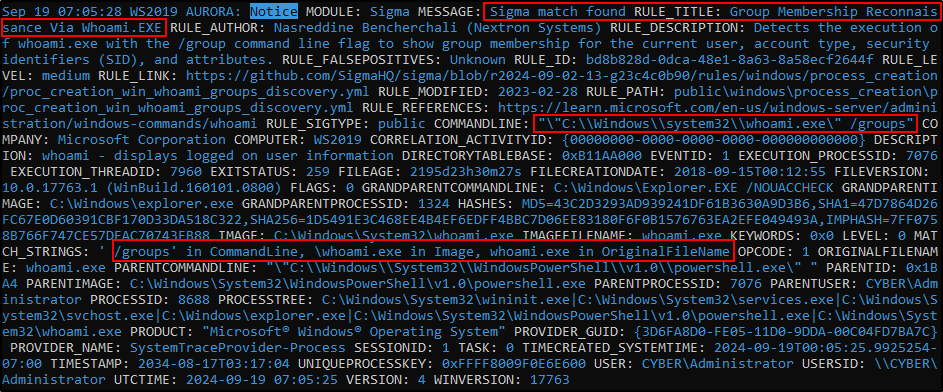
Open PowerShell and run whoami /groups
Verify that Aurora generates alert Sigma match found with the title Group Membership Reconnaissance via Whoami.EXE
To use a specific configuration preset, include the respective flag:
A typical command to run Aurora, which prints messages and matches to the terminal and the Windows Application Event Log, is:
Running Aurora as a Service
To install Aurora as a service, use the --install flag. An example installation on systems with limited hardware resources (i.e. installing Aurora with the reduced preset) looks like this:
Aurora includes four configuration presets to suit various needs:
- Standard:
agent-config-standard.yml - Reduced:
agent-config-reduced.yml - Minimal:
agent-config-minimal.yml - Intense:
agent-config-intense.yml
The configuration presets have the following settings:
| Affected Setting | Minimal | Reduced | Standard | Intense |
|---|---|---|---|---|
| Deactivated Sources | Registry Raw Disk Access Kernel Handles Create Remote Thread Process Access Image Loads |
Registry Raw Disk Access Kernel Handles Create Remote Thread Process Access |
Registry Raw Disk Access Kernel Handles Create Remote Thread |
None |
| CPU Limit | 20 % | 30 % | 35 % | 100 % |
| Process Priority | Low | Normal | Normal | Normal |
| Minimum Reporting Level | High | High | Medium | Low |
| Deactivated Modules | LSASS Dump Detector BeaconHunter |
LSASS Dump Detector | None | None |
Warning: The Intense preset consumes significant system resources and may heavily burden the system, particularly when a process rapidly accesses numerous registry keys.
It is recommended to use this preset sparingly, either on a carefully chosen set of systems or in scenarios where maximum detection capability is essential.
Installing Aurora
Extract the program package into a temporary folder (e.g., C:\aurora).
Place the license file (.lic) into the extracted folder.
Open Command Prompt as an Administrator.
Navigate to the extracted folder:
Run one of the following commands to install Aurora (with or without the GUI):
After installation, the agent, configuration files, and rules will be located in:
All rule files in the signatures\sigma-rules and custom-signatures subfolders are automatically copied.
- The
signatures\sigma-rulesfolder contains the latest open-source rules from the Sigma repository. - The
custom-signaturesfolder can be used to add your own Sigma rules.
Check the local Application Event Log to verify the presence of new events related to the Aurora Agent.
Navigate to Aurora dashboard http://localhost:17494/ui/dashboard/overview on a web browser and confirm that the Aurora dashboard is accessible.
To check the current status of the agent, run the following commands:
For testing Aurora’s functionality, refer to the Function Tests section for ideas on validating its performance.
Troubleshooting shortcuts
| Problem | Check first |
|---|---|
| Package is blocked | Verify the source and hash, then use the narrow approved exclusion described above. |
| Licence is not detected | Confirm the .lic file is beside the executable before installation. |
| Dashboard does not open | Confirm installation used --dashboard, then check service status and port 17494. |
| Rules do not load | Review Status and the Windows Application event log before changing configuration. |